
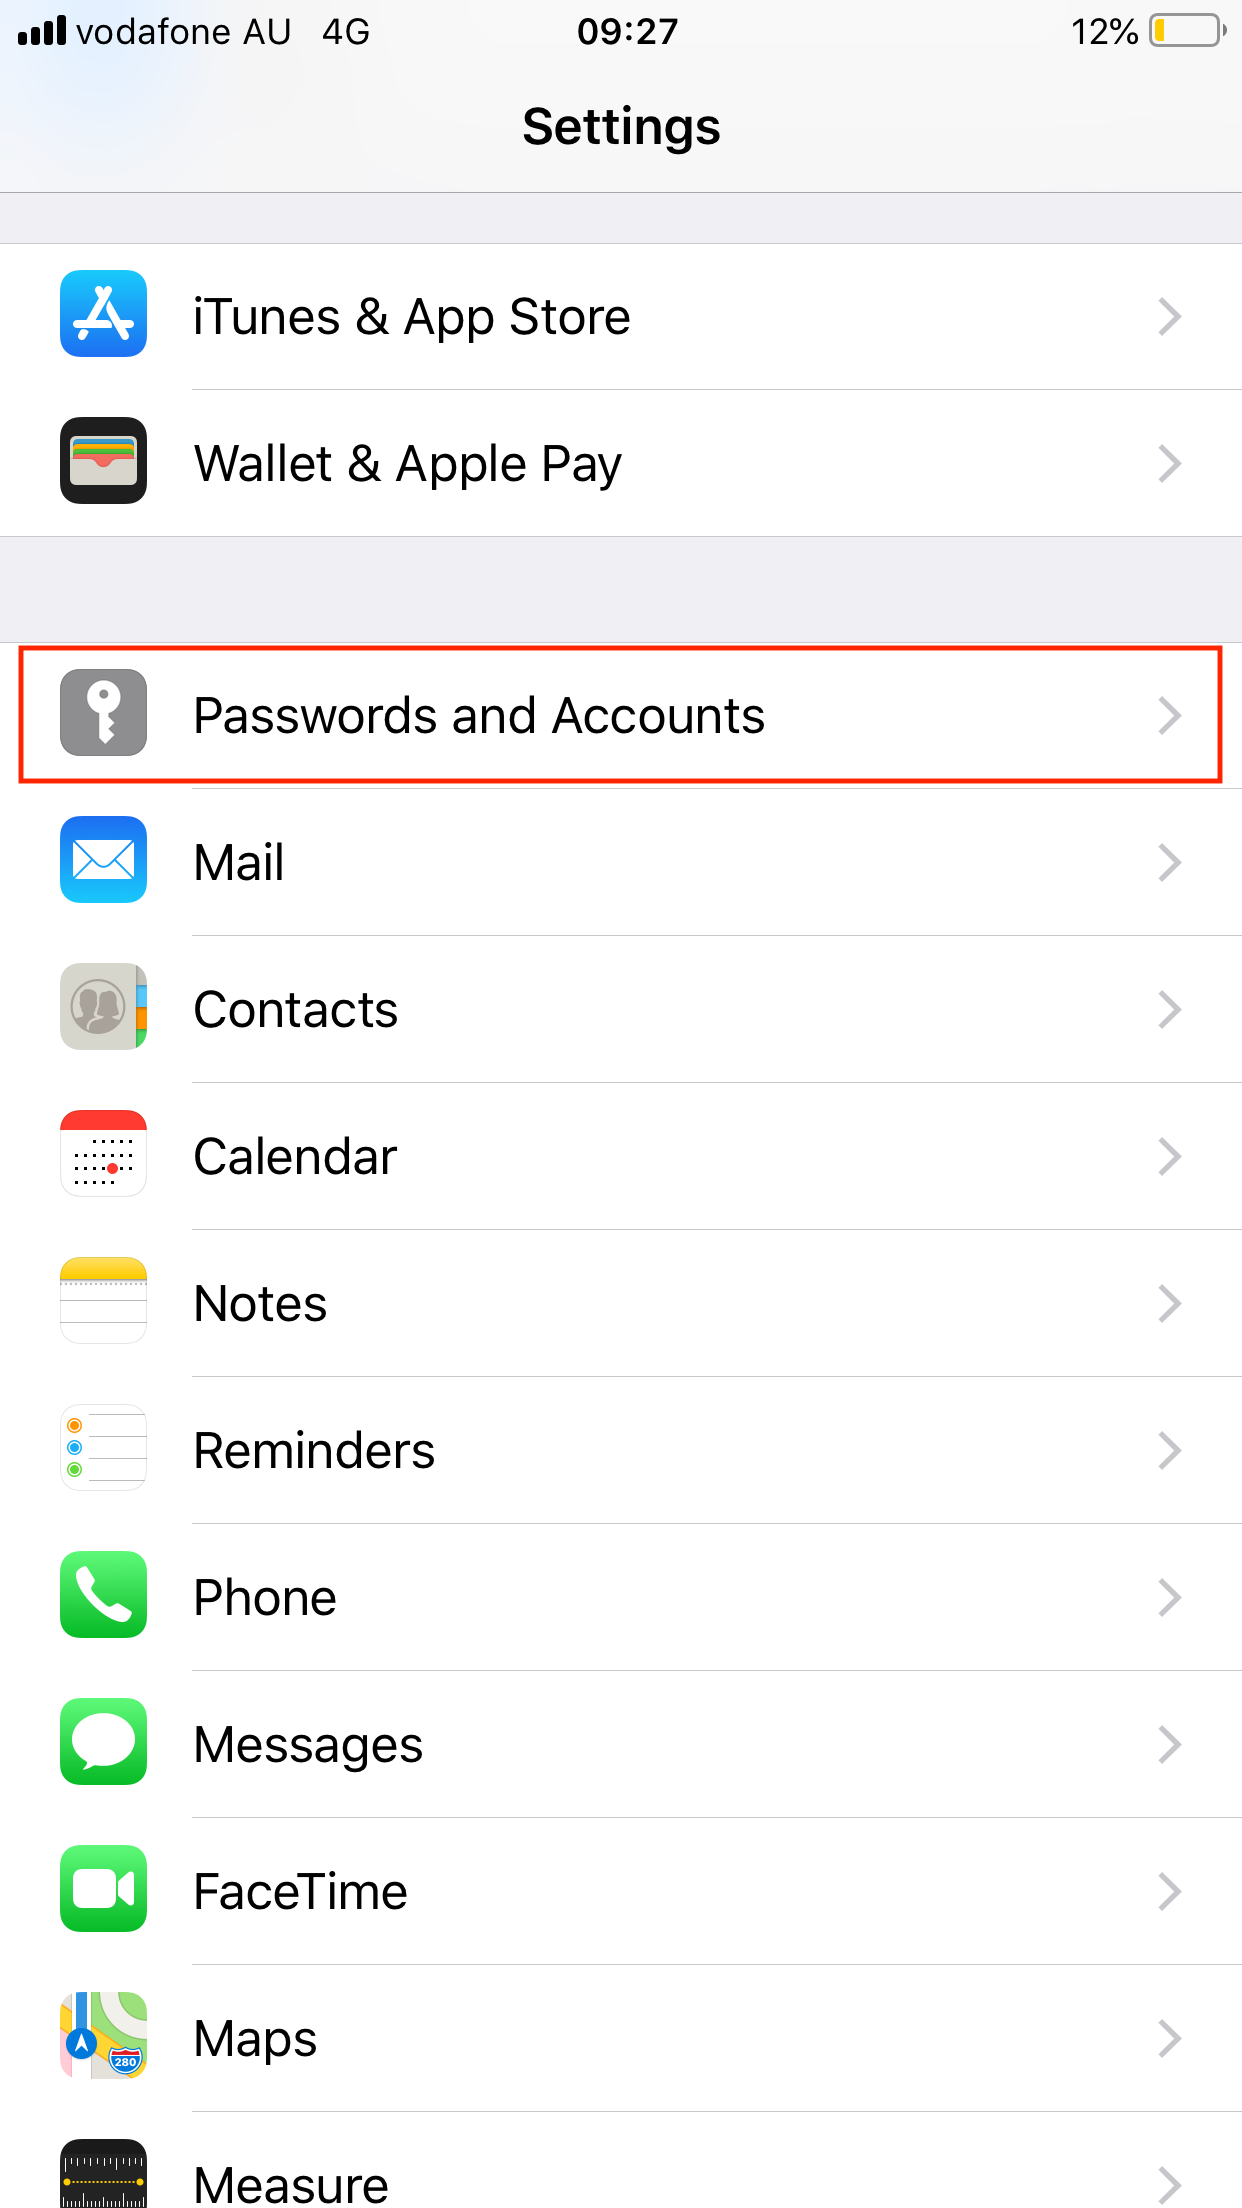
Follow these steps to set up your emails on your iPhone/iPad:
 |
 |
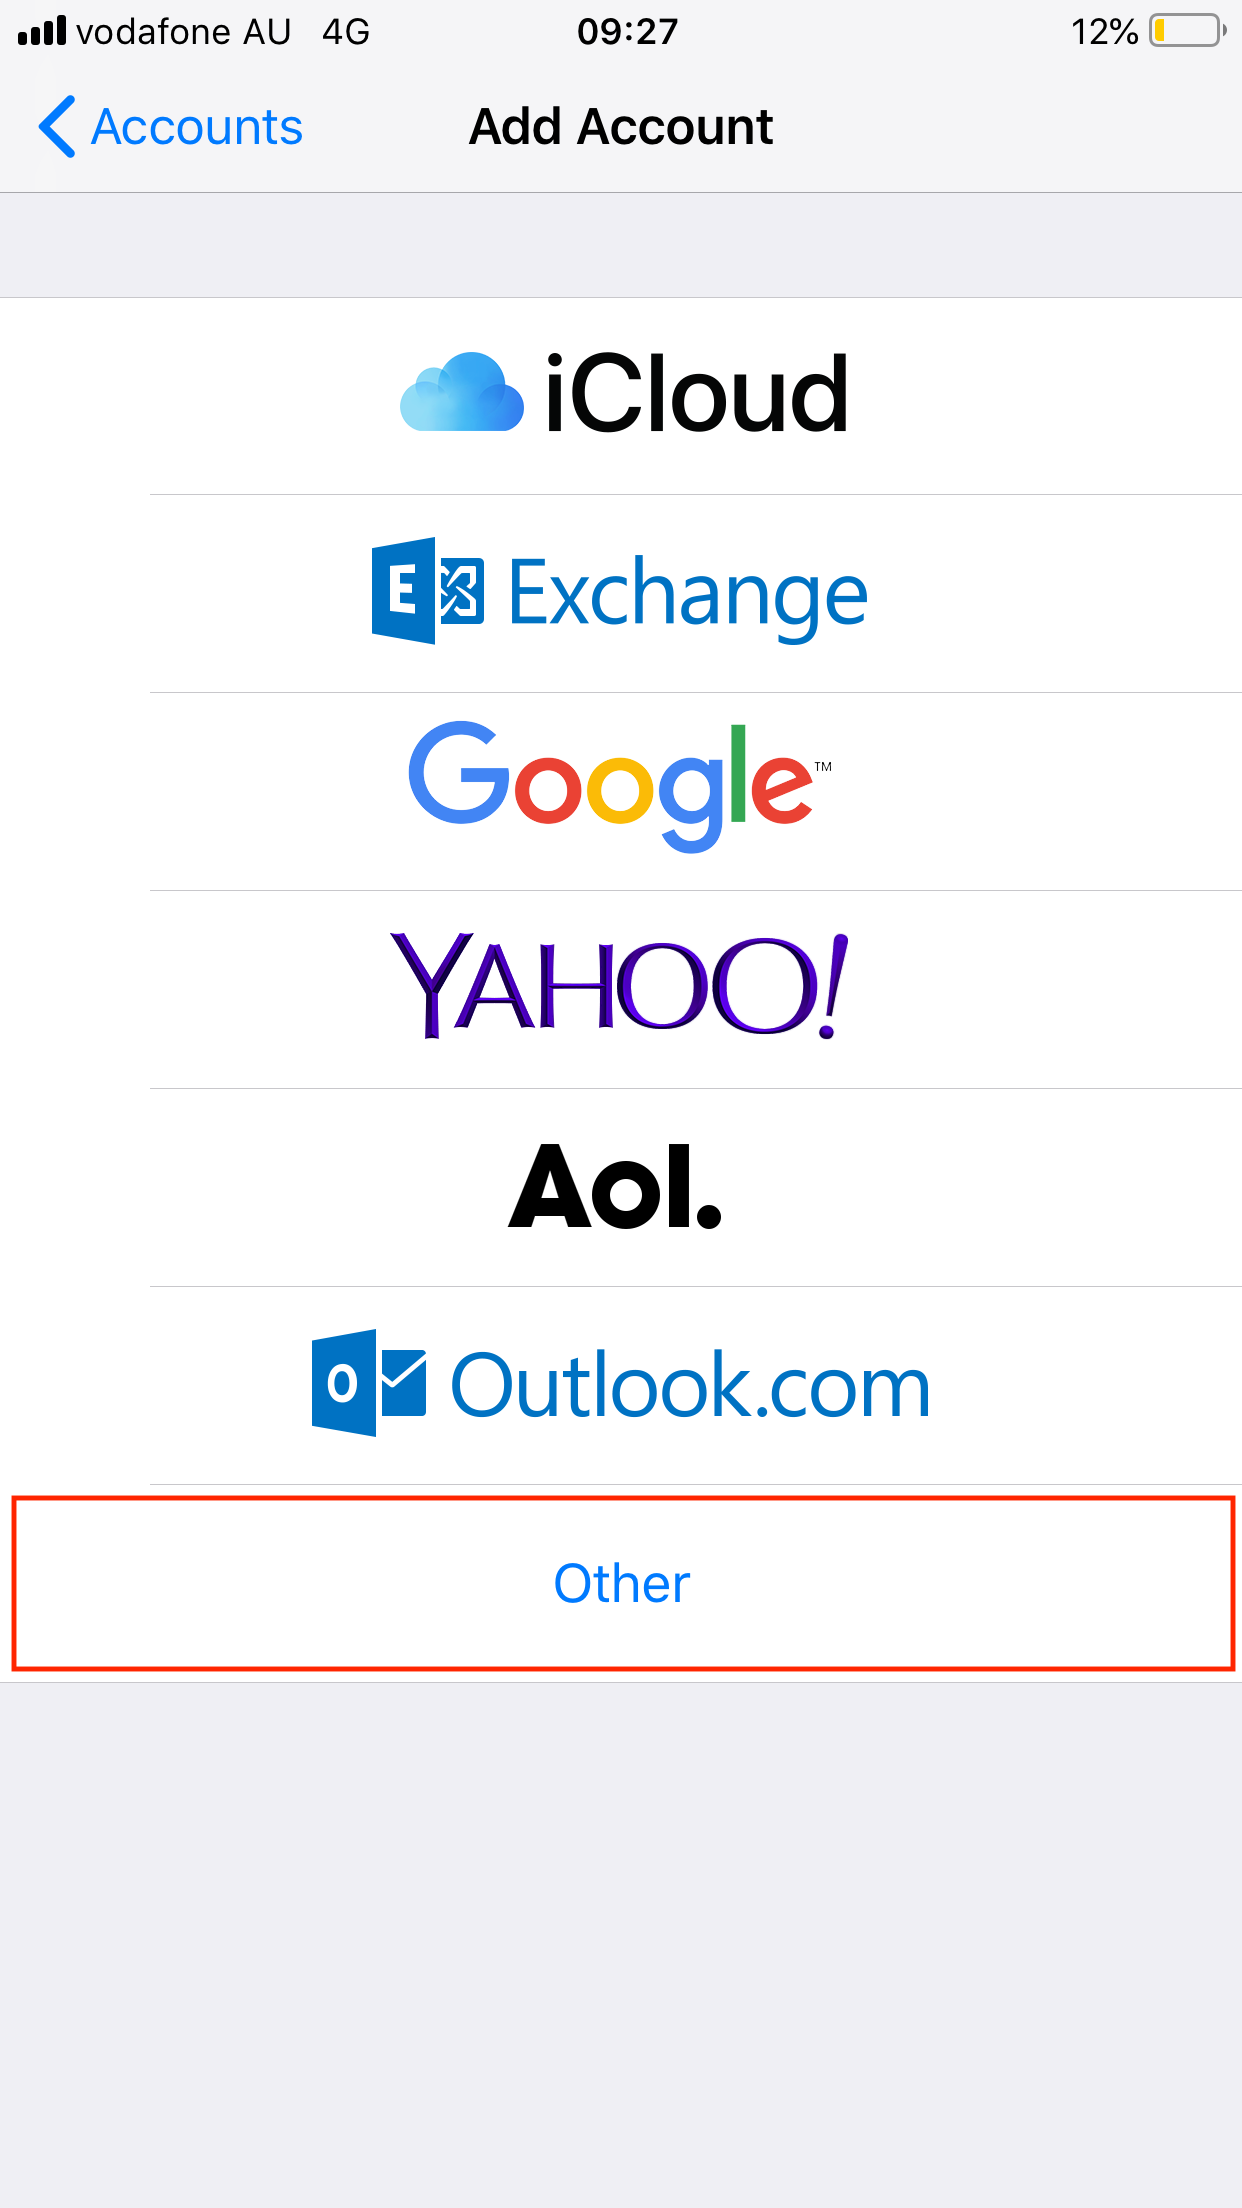
2. Select Other on the Add Account page.
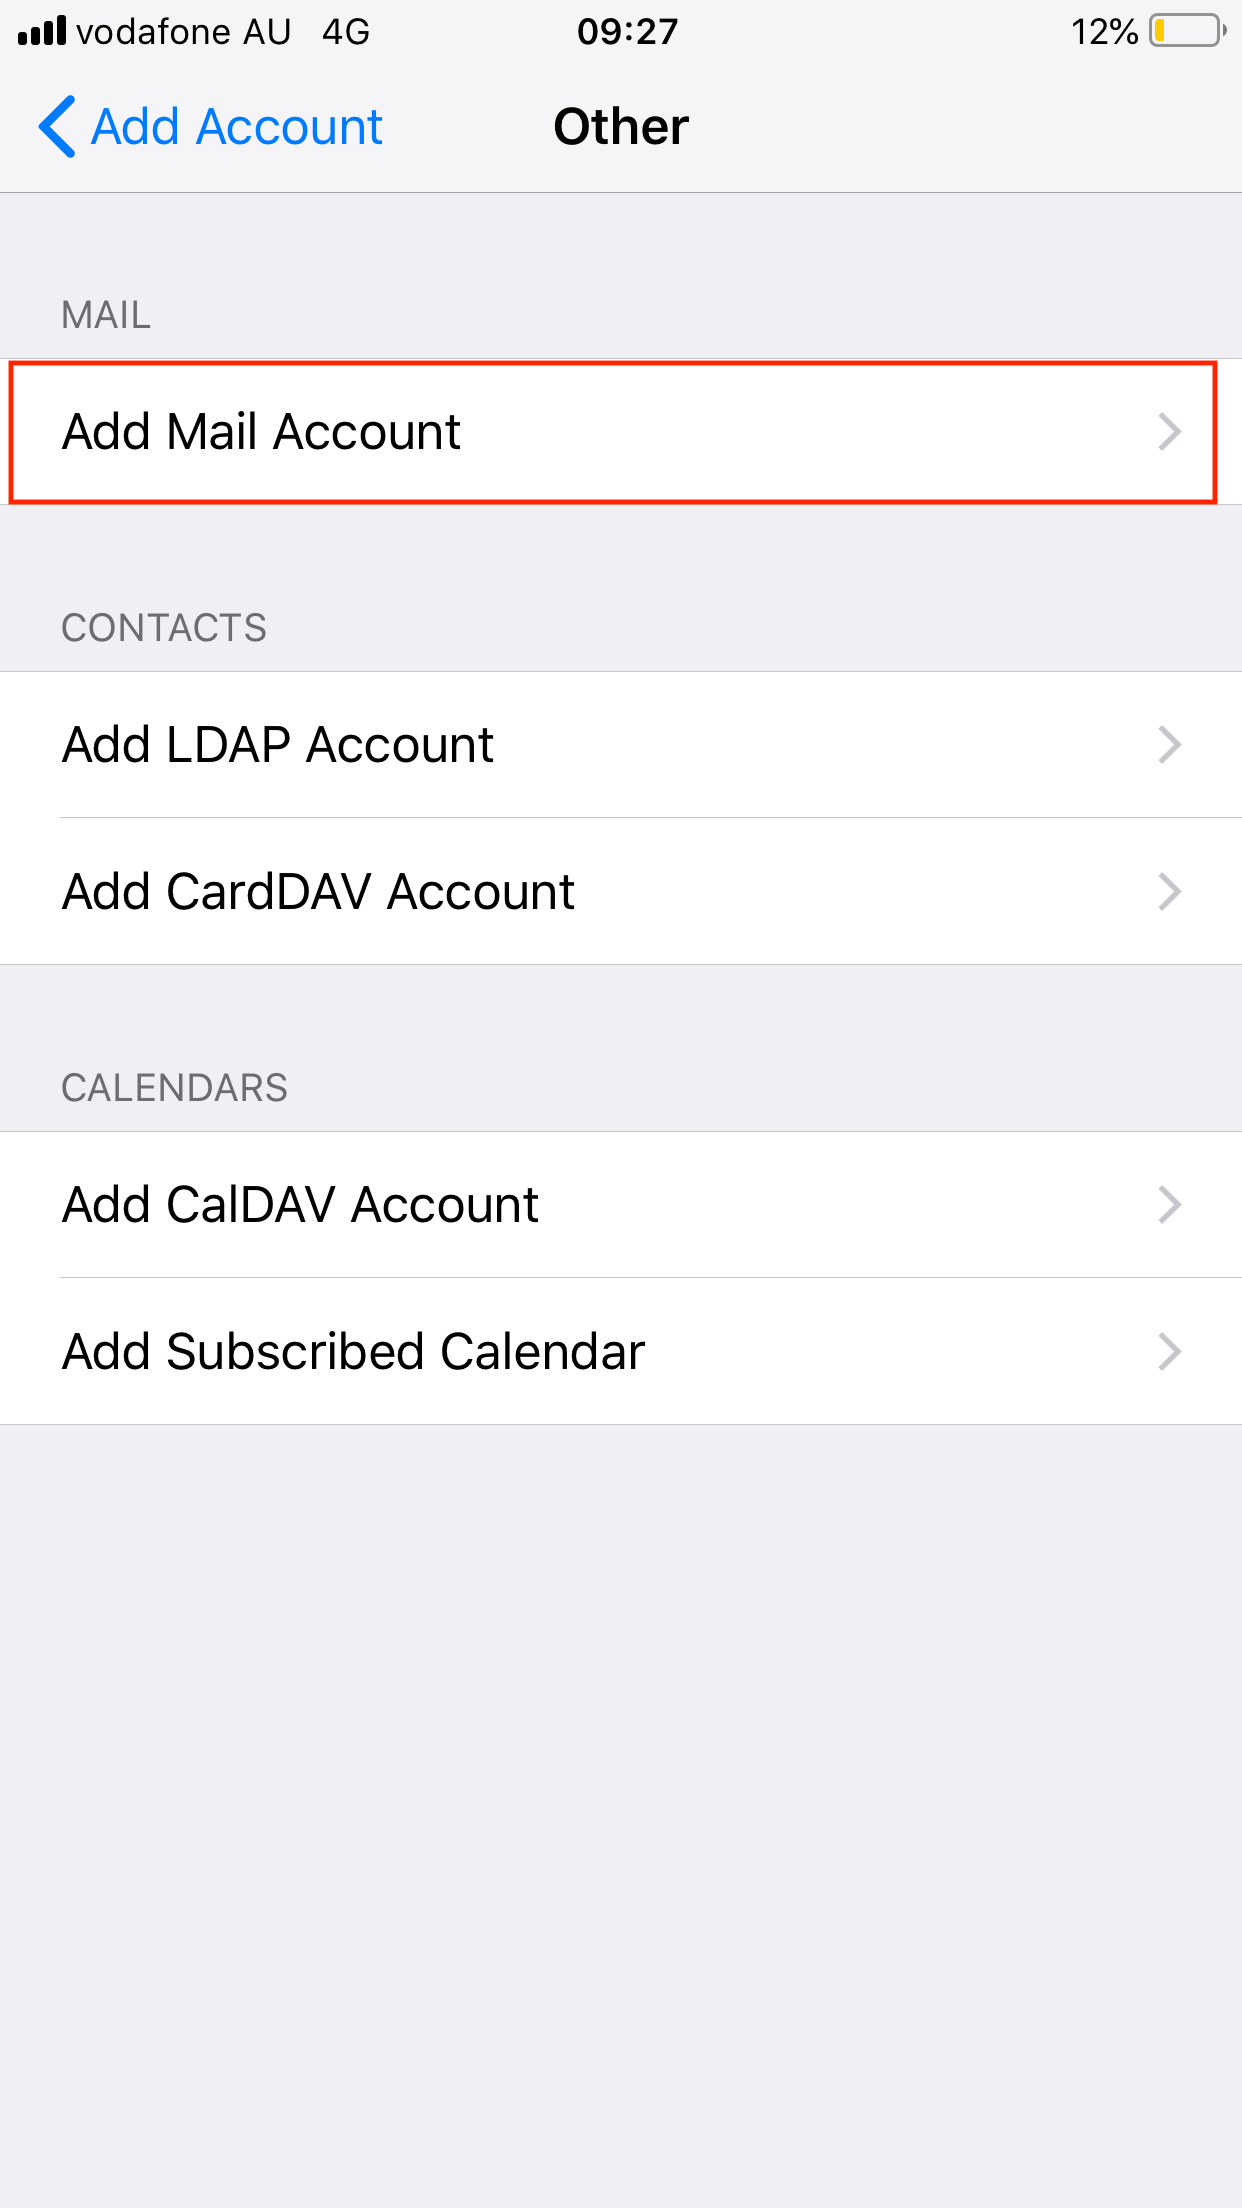
3. Select Add Mail Account.
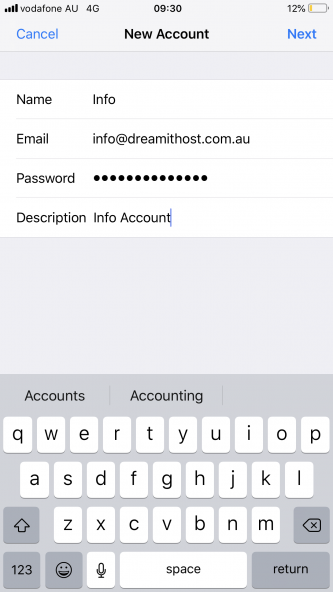
4. Fill out the required information.
Name: The name of your email account.
Email: The email address that you're setting up on your phone.
Password: The password for the email account. (It is the same as the one you would use to log into webmail.)
Description: A brief description of the email account — This is up to you!
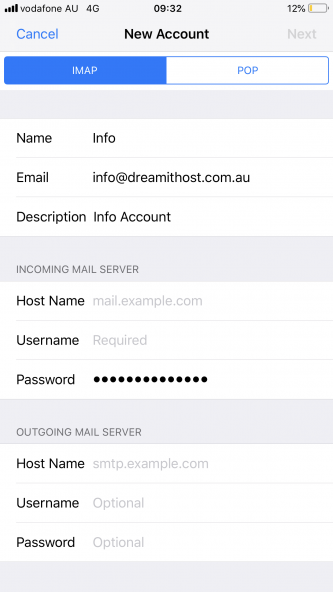
5. Enter the incoming and outgoing server details.
Note: The ‘optional’ Outgoing Mail Server details are required!
You can find your email server settings from your original hosting account information email or within your control panel. For cPanel users who require assistance locating your server settings, please click here.
Username: The email address that you're setting up on your phone.
Password: The password for the email account. (It is the same as the one you would use to log into webmail.)
Outgoing Host Name: mail.[yourdomainname].com.au or the server name.
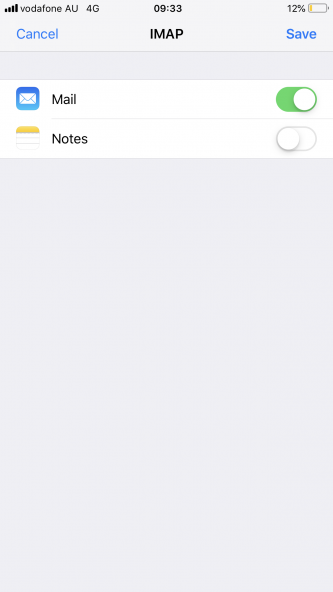
If you receive a security warning, you can safely accept this.
 |
 |
 |
Having issues getting set up?
- If you have just moved to DreamIT Host, you must check your incoming/outgoing hostnames are correct. Try setting it to the server name while your DNS updates.
- Check that you have updated your DNS to our nameservers. Go to https://www.whatsmydns.net/; enter your domain, switch the dropdown box to NS, and then select Search.
- Our Webhosting NameServers are: ns1.hosting-cloud.net / ns2.hosting-cloud.net / ns3.hosting-cloud.net / ns4.hosting-cloud.net
- Our Email Hosting NameServers are: ens1.hosting-cloud.net / ens2.hosting-cloud.net / ens3.hosting-cloud.net / ns4.hosting-cloud.net
- Please remember that support for external mail clients is limited. Please provide screenshots/images before raising a support ticket from your MyDreamIT account to ensure you have entered all the correct details.
- For further assistance, you can visit the Apple Support page.


